Are you looking to add a boho touch to your home decor? Look no further! In this article, we will show you how to create stunning macrame pieces that will bring a unique and trendy vibe to your living space. Macrame is a beautiful art form that involves knotting cords and fibers to create intricate designs. With a few basic techniques, you can create a wide variety of macrame projects that will impress your guests and add a touch of bohemian charm to any room.
Macrame wall hangings are a popular choice for boho decor. By using basic macrame knots and different types of cords and fibers, you can create a beautiful and eye-catching wall hanging that will become the focal point of any room. The possibilities are endless when it comes to design and style, allowing you to customize your wall hanging to match your personal taste and home decor.
Another great macrame project to try is a plant hanger. By incorporating macrame techniques, you can create a stylish and bohemian-inspired hanger for your plants. Whether you want to hang them indoors or outdoors, these macrame plant hangers will add a touch of natural beauty to your space. You can experiment with different knotting patterns and colors to create a unique and personalized hanger that perfectly complements your plants.
Macrame Wall Hanging
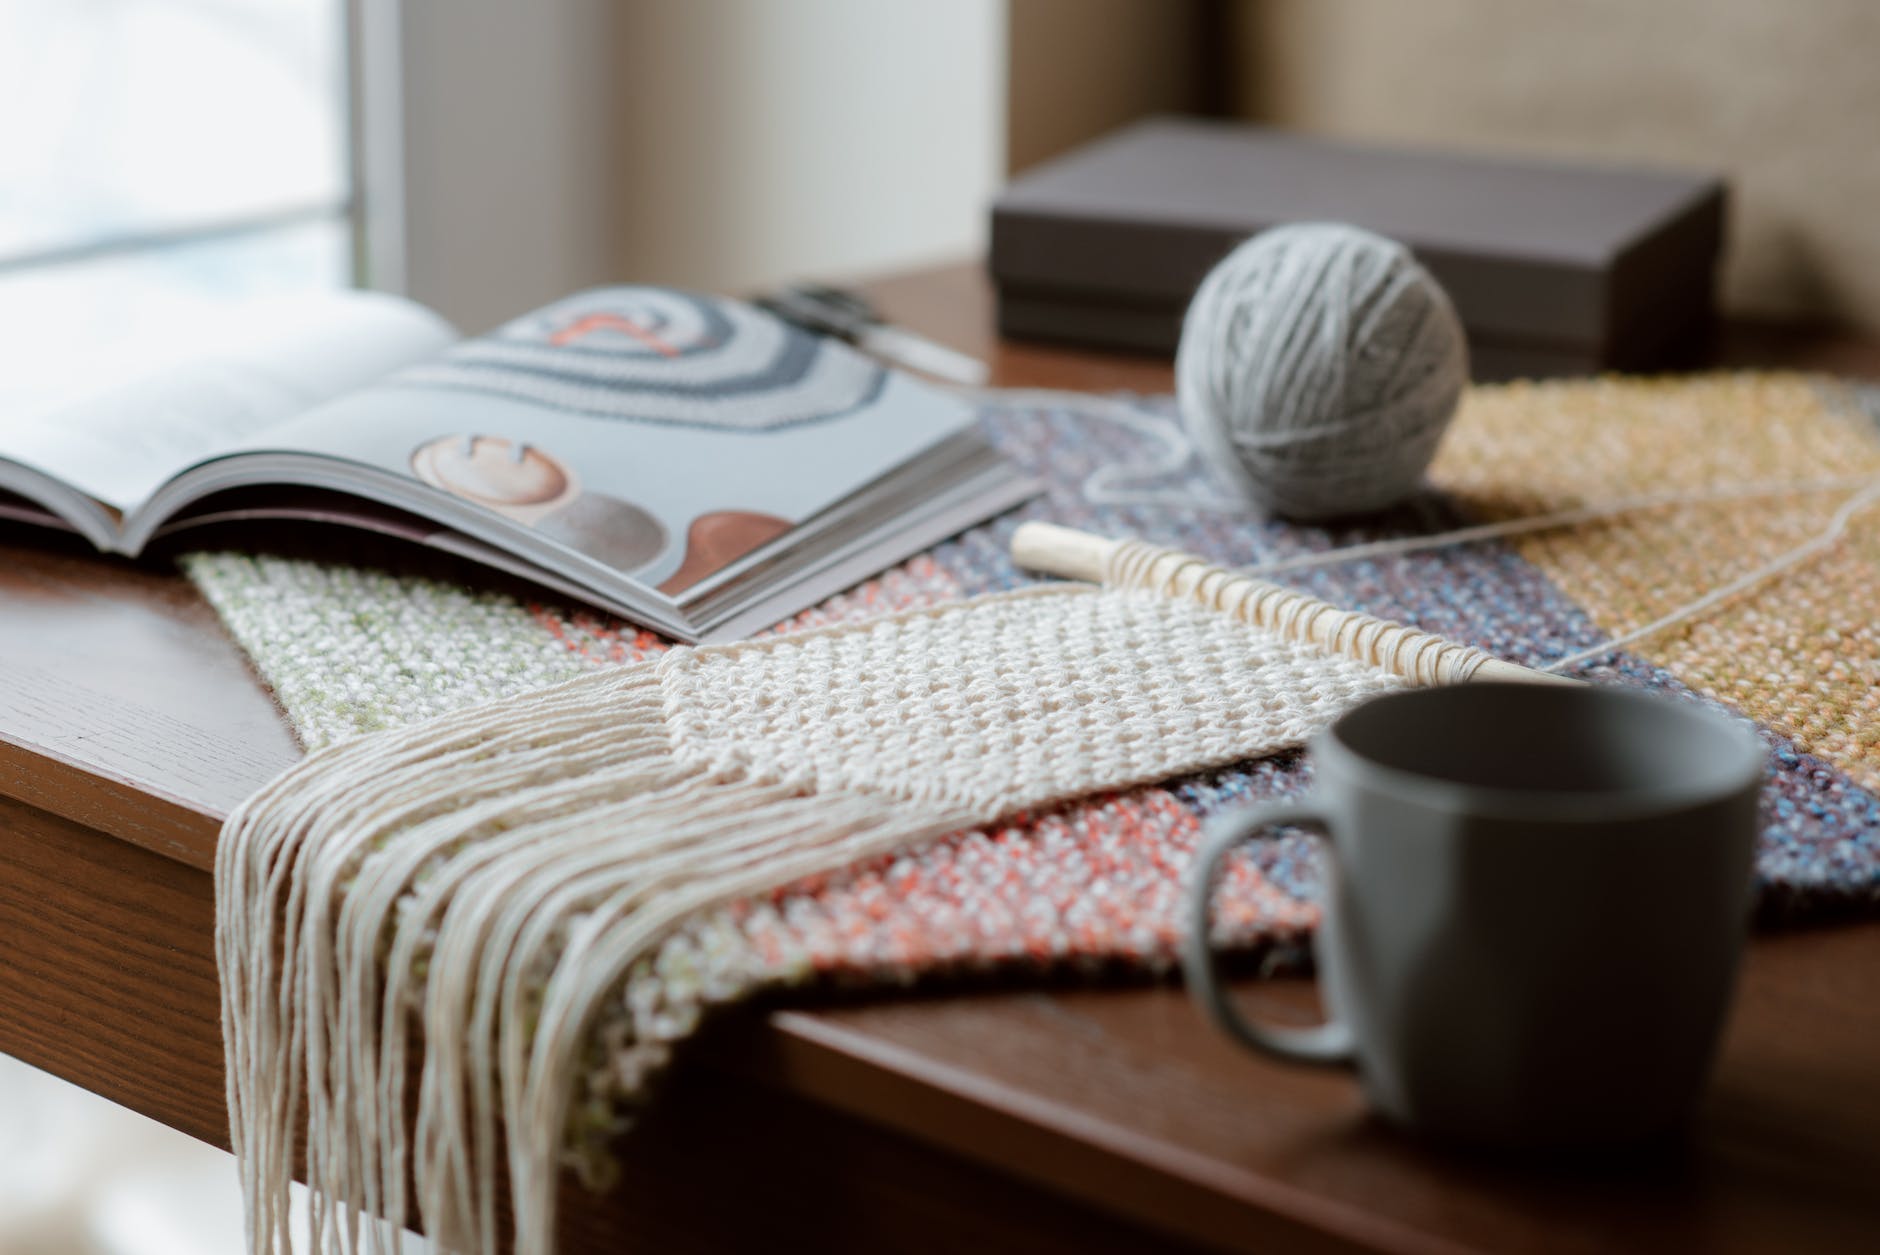
Macrame wall hangings are a beautiful way to add a boho touch to your home decor. With just a few basic macrame knots and a variety of cords and fibers, you can create stunning pieces that will instantly elevate any wall in your home.
To create a macrame wall hanging, start by gathering your materials. You’ll need a sturdy dowel or branch to serve as the base of your hanging, as well as different types of cords and fibers in various colors and textures. This is where you can get creative and choose materials that match your personal style and the overall aesthetic of your space.
Once you have your materials ready, it’s time to start knotting. The most common knot used in macrame wall hangings is the square knot. This knot is created by crossing two cords over each other and then looping them under and through the opening. By repeating this knot in different combinations and patterns, you can create intricate designs and textures.
As you knot, you can also incorporate other techniques such as adding beads or feathers to your wall hanging for added visual interest. This is where you can let your creativity shine and truly make your macrame wall hanging unique.
Once you’ve finished knotting, you can trim any excess cords and fibers to create a clean and polished look. Then, simply attach your wall hanging to the dowel or branch using additional cords or by tying them directly onto the base.
Hang your macrame wall hanging on a prominent wall in your home and watch as it instantly transforms the space with its boho charm. Whether you choose to create a large statement piece or a smaller accent, a macrame wall hanging is sure to add a touch of style and personality to any room.
Macrame Plant Hanger
Make your own plant hanger using macrame techniques, adding a bohemian vibe to your indoor or outdoor space.
Simple Macrame Bracelet
Are you ready to add some boho flair to your jewelry collection? Look no further than the simple macrame bracelet! With just a few basic knotting techniques and some colorful cords, you can create a stylish and trendy bracelet that will make a statement.
To get started, gather your materials. You will need:
- Colorful cords in your choice of colors
- Scissors
- Clipboard or tape to secure your work
Once you have your materials ready, it’s time to start knotting. The most basic knot used in macrame is the square knot. To create a square knot, follow these steps:
- Take the left cord and cross it over the middle cords, creating a loop.
- Take the right cord and place it over the left cord, then tuck it under the middle cords and through the loop created by the left cord.
- Pull both cords tight to create a knot.
- Repeat these steps, alternating the starting cord, until you reach the desired length for your bracelet.
Once you have finished knotting, trim any excess cord and secure the ends with a knot or a dab of glue. You can also add beads or charms to personalize your bracelet.
Now you have a stylish and trendy macrame bracelet that you can wear with pride. Whether you’re going for a casual boho look or dressing up for a night out, this bracelet will add the perfect touch of bohemian charm to any outfit. So grab your cords and get knotting!
Braided Macrame Keychain
Create a unique and personalized keychain by combining macrame knots with braiding techniques. This DIY project allows you to showcase your creativity and add a touch of boho style to your everyday accessories. With just a few materials and some basic knotting skills, you can create a stunning keychain that reflects your personal style.
To start, gather your materials. You will need a keychain ring, macrame cord in your desired color, and a pair of scissors. You can also add beads or charms to customize your keychain further.
Begin by cutting four equal lengths of macrame cord. Fold each cord in half and attach them to the keychain ring using a lark’s head knot. This will create eight strands to work with.
Next, divide the strands into four pairs. Take the outer left strand from the first pair and cross it over the inner left strand, creating a loop. Repeat this step with the outer right strand, crossing it over the inner right strand. Pull the strands tight to create a square knot. Repeat this square knot with the remaining pairs of strands.
Once you have completed a few square knots, it’s time to incorporate braiding into your design. Take two adjacent strands and cross them over each other, creating an X shape. Take the strand on the left side of the X and cross it over the strand on the right side of the X. Continue this braiding technique until you reach your desired length.
To finish off your keychain, tie a knot at the end of the braided section, leaving a small loop for attaching keys. Trim any excess cord, and your braided macrame keychain is complete!
Creating a braided macrame keychain is a fun and rewarding project that allows you to showcase your creativity and add a personal touch to your everyday accessories. Whether you keep it for yourself or gift it to a friend, this unique keychain is sure to make a statement.
Macrame Feather Earrings
Macrame feather earrings are a fantastic way to make a boho statement and add a touch of uniqueness to your accessory collection. These earrings are not only stylish but also incredibly versatile, making them the perfect addition to any outfit. By using macrame knots, you can create intricate feather designs that are sure to catch everyone’s attention.
To make macrame feather earrings, you will need a few basic supplies such as macrame cord, earring hooks, and scissors. Start by cutting several strands of macrame cord to your desired length. These strands will form the base of your feather design. Next, tie a gathering knot at the top of the cords to secure them together.
Once you have your base, it’s time to create the feather-like strands. Use various macrame knots such as square knots, half knots, or double half hitch knots to create the feather-like fringes. You can experiment with different knotting techniques to achieve the desired look.
After you have created the feather design, trim the excess cord to give your earrings a polished and finished look. Attach earring hooks to the top of the gathered cords, and your macrame feather earrings are ready to be worn!
These earrings are not only a great way to express your personal style but also make fantastic handmade gifts for friends and loved ones. You can customize them by using different colored cords or adding beads and charms for extra flair.
So, why not give macrame feather earrings a try? With a little bit of creativity and some basic macrame techniques, you can create stunning and unique accessories that are sure to turn heads wherever you go.
Macrame Wall Art
Are you looking to add a touch of elegance and creativity to your walls? Look no further than macrame wall art. With its intricate knotting patterns and textures, macrame wall art can transform any space into a bohemian oasis. Whether you’re a beginner or an experienced macrame artist, creating your own macrame wall art is a fun and rewarding DIY project.
To get started, gather your materials. You’ll need a sturdy dowel or branch to serve as the base for your wall hanging. Choose a variety of cords in different colors and thicknesses to add depth and visual interest to your design. You can also incorporate beads, feathers, or other decorative elements to personalize your piece.
Once you have your materials ready, it’s time to start knotting. There are several basic macrame knots you can use to create different patterns and textures. The square knot, the half knot, and the spiral knot are just a few examples. Experiment with different combinations and variations to achieve the desired look.
A great way to add visual appeal to your macrame wall art is by incorporating different textures. You can achieve this by using cords of varying thicknesses or by adding fringes or tassels to your design. Play with different materials like cotton, jute, or even silk to create unique textures and effects.
Remember, macrame is all about creativity and self-expression. Feel free to experiment and let your imagination run wild. Whether you choose to create a simple geometric design or a complex tapestry, your macrame wall art will surely be a stunning addition to your home decor.
Macrame Dreamcatcher
Macrame dreamcatchers are a beautiful and boho-inspired addition to any home decor. These intricate and whimsical creations not only add a touch of elegance to your space but also serve as a symbol of protection and good dreams. Learning how to make a macrame dreamcatcher is a fun and creative project that allows you to customize it according to your personal style.
To make a macrame dreamcatcher, you will need a few basic supplies such as macrame cord, feathers, beads, and a hoop. Start by wrapping the hoop with the macrame cord, securing it with knots at regular intervals. This will create the base of your dreamcatcher. Next, you can begin adding the macrame knots to create a beautiful pattern. There are various macrame knotting techniques you can use, such as the square knot or the spiral knot, to create different textures and designs.
Once you have created the macrame pattern, you can start embellishing your dreamcatcher with feathers and beads. Feathers add a whimsical and bohemian touch to the dreamcatcher, while beads can add pops of color and sparkle. You can attach them to the macrame cords using simple knots or by threading them onto the cords.
Creating a macrame dreamcatcher allows you to unleash your creativity and make a truly unique piece of art. You can experiment with different colors, patterns, and sizes to create a dreamcatcher that perfectly fits your style and space. Hang your finished dreamcatcher near a window or above your bed to catch any negative energy and ensure a peaceful night’s sleep.
So, why not give macrame dreamcatchers a try? With a few basic supplies and some macrame techniques, you can create a stunning and boho-inspired piece of art that adds a touch of whimsy and beauty to your home decor.
Macrame Curtain
Are you looking to add a touch of elegance and bohemian flair to any room in your home? Look no further than creating a stunning macrame curtain. Macrame curtains are not only beautiful but also functional, providing privacy and adding a unique and stylish element to your space.
To create your own macrame curtain, you’ll need a few basic supplies. Start by gathering different types of cords and fibers in various colors and textures. You can experiment with different materials like cotton, jute, or even recycled fabrics to achieve the desired look.
Once you have your supplies ready, it’s time to dive into the world of macrame knots. There are various knotting techniques you can use to create intricate patterns and textures in your curtain. Some popular knots include the square knot, half hitch knot, and double half hitch knot.
Start by measuring the dimensions of the area where you want to hang the curtain. This will help you determine the length and width of your macrame curtain. Once you have the measurements, you can begin knotting the cords together to create the desired length and width.
As you work on your macrame curtain, don’t be afraid to get creative. You can incorporate beads, shells, or even feathers into your design to add extra visual interest. The possibilities are endless, and you can customize your macrame curtain to match your personal style and the overall aesthetic of your home.
Once you’ve completed your macrame curtain, it’s time to hang it up and admire your handiwork. Whether you choose to hang it in a bedroom, living room, or even as a room divider, your macrame curtain will instantly elevate the space and create a cozy and bohemian atmosphere.
So, why wait? Start creating your own stunning macrame curtain today and transform any room in your home into a boho haven.
Macrame Table Runner
Add a touch of boho-chic to your dining table with a unique macrame table runner. This DIY project allows you to create a stunning and personalized centerpiece that will impress your guests.
To make your macrame table runner, you will need a variety of cords and fibers in different colors and textures. You can choose natural jute or cotton cords for a rustic look, or opt for vibrant and colorful cords to add a pop of color to your table.
Start by measuring the length of your table and cut the cords accordingly. Then, using basic macrame knots such as the square knot or the half-square knot, begin creating the pattern for your table runner. You can experiment with different knotting techniques and patterns to achieve the desired look.
If you want to add some extra flair to your table runner, you can incorporate beads or shells into the design. Simply thread them onto the cords before tying the knots, and they will become part of the macrame pattern.
Once you have completed the macrame portion of the table runner, trim any excess cords and secure the ends to prevent unraveling. You can also add fringe or tassels to the edges for a bohemian touch.
Finally, lay your macrame table runner on your dining table and admire the beautiful and unique centerpiece you have created. It will instantly elevate the look of your table and add a boho-chic vibe to your dining space.
So why wait? Get creative and start making your own macrame table runner today. It’s a fun and rewarding project that will bring style and personality to your dining area.
Frequently Asked Questions
- What is macrame?
Macrame is a crafting technique that involves knotting cords or fibers to create decorative patterns and designs. It has been used for centuries to create various items such as wall hangings, plant hangers, and jewelry.
- Do I need any prior experience to start macrame projects?
No prior experience is necessary to start macrame projects. Basic macrame knots can be easily learned, and there are plenty of tutorials and resources available online to guide beginners through the process.
- What materials do I need for macrame projects?
The materials needed for macrame projects include cords or fibers (such as cotton, jute, or nylon), scissors, a dowel or hoop (for wall hangings), beads or feathers (for embellishments), and a tape measure or ruler.
- Can I use macrame in outdoor spaces?
Yes, macrame can be used in both indoor and outdoor spaces. However, it is important to choose materials that are suitable for outdoor use and can withstand weather conditions, such as UV-resistant cords.
- Are macrame projects time-consuming?
The time required for macrame projects depends on the complexity and size of the project. Simple bracelets or keychains can be completed in a few hours, while larger wall hangings or curtains may take several days to finish.
- Can I customize macrame projects to match my home decor?
Absolutely! Macrame projects can be easily customized to match your home decor. You can choose cords in colors that complement your existing color scheme or add embellishments like beads or feathers to create a personalized touch.
- Where can I find macrame patterns and tutorials?
There are numerous websites, blogs, and social media platforms dedicated to macrame. You can find free patterns and tutorials online, as well as books or video courses that provide step-by-step instructions for different macrame projects.


